How to run stunnel on your Android device
Overview
In this post we’re going to talk about how to run the amazing stunnel program on your Android device properly.
Later, this would allow us to setup a lot of cool things like:
- Wrapping OpenVPN traffic with it
- Using it as a SOCKS VPN
- Adding proper IMAPS/SMTPS support to our old email apps
- …
For this, we’re not going to use the old and very limited SSLDroid. It’s a bad idea, I don’t know why different sites still keep pushing it. It almost certainly has unpatched vulnerabilities. Please don’t use it.
Instead, we are going to use the official stunnel program, with the help of a proper wrapper.
stunnel Android binary
stunnel already supports Android devices and even the compiled version of it is available in it’s download page.
Since we’ll be using the compiled binary, you may need to compile stunnel yourself for your specific Android architecture before continuing1. Chances are though, that your device is running on ARM and you are ready to go.
Another thing to note, is that the stunnel compiled version, is CLI only. Meaning it can hardly be used by end users, and is mainly suitable for developers.2
While making an Android GUI is in the stunnel author’s TODO list, there is still no official GUI available.
So we need an unofficial GUI (a wrapper if you will), an app that could provide the required front-end to the user and then pass the execution to the stunnel binary.
SSLSocks
I spent quite a good amount of time trying to find a suitable and decent app. There are not so many of them, and most are either not maintained anymore or require you to compile the app yourself (which lets face it, is way less than ideal!)
In the end, I was able to find a decent little-known open-source app which is still maintained by the developer and also regularly updated to include the latest stunnel binary.
It is called SSLSocks by comp500. The app name does not remotely give the impression of stunnel, mainly because it was…
Originally intended to be a socks5 VPN through TLS.
The VPN part is not done yet but the stunnel part is working fine.
This app however, comes with a little to no documentation and could be a little tricky to make it work for the first time.
The rest of this post is dedicated to provide a basic documentation for the said app in hoping that it could help others to make use of it, and to also give back something to the author of the app to know that his app is actually being used.
Compiling
That’s the great part, you don’t need to compile it yourself! While the README file does outline the steps necessary to source the Android binary and compile the app yourself, the compiled version of the app (armed with the required stunnel binary for android), is available on Google Play: link.infra.sslsocks.
Permissions
The app does not need any special permissions to function. Which is yet another plus side.
Installing
Assuming your device uses ARM architecture (which very likely does), you can simply download the app from Google Play: link.infra.sslsocks. Just open that link in your phone and hit “Install”.
GUI
The GUI of this app, is very simple. It consists of couple of tabs:
HOME
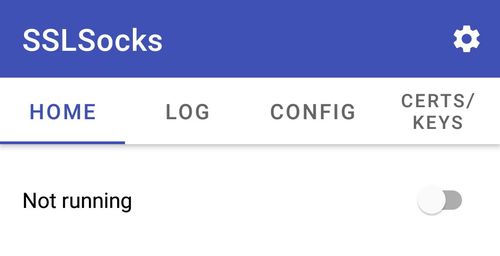
This is your landing page. When you are done with your setup, you can start the stunnel process here (and then stop it later on). More on this later.
LOG
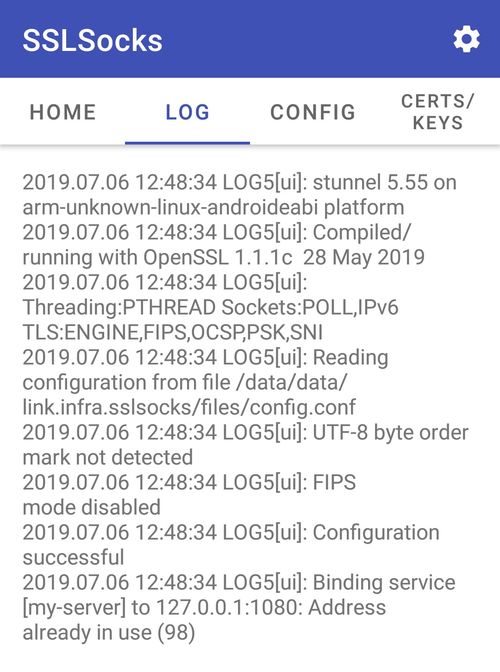
This section, outputs the stunnel process log. The amount of log that you get, depends on the debug value set in the stunnel config file (default is 5). You can use this to troubleshoot your stunnel config.
CONFIG
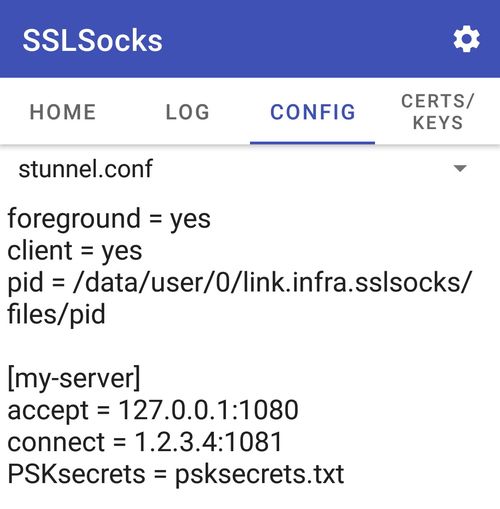
This is where the magic happens! This section, holds your stunnel.conf file. The format is exactly as specified in stunnel documentation, and more or less all the options could be used.
Couple of default options are already specified in the file. You may remove the client = yes option if for whatever reason you want to make your Android device act as a stunnel server, but DO NOT remove the foreground = yes and pid = ... options (these are needed for proper communication and handling of the stunnel process by the SSLSocks).
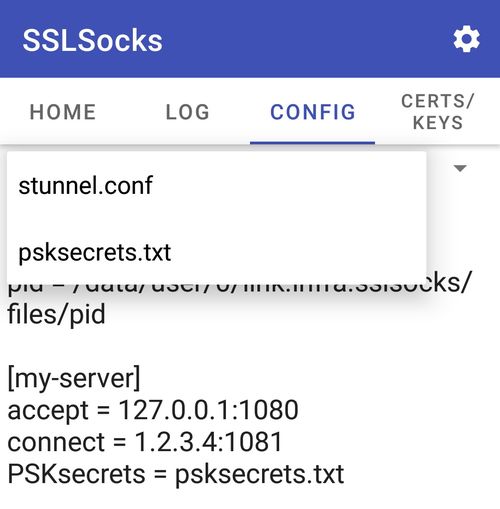
The question that arises is that where and how do we make and link the external files (like PSKSecrets, CAfile, cert, etc)?
There is a dedicated file for PSKSecrets in the app, called psksecrets.txt. This file is accessible from the same window. Simply click (or touch, w/e!) on the dropdown menu at the top of the text window, and select psksecrets.txt:
Since stunnel starts in the same directory as this file, we specify it in stunnel.conf like this (as we will see shortly, the same applies to cert files as well): :
PSKsecrets = psksecrets.txt
Moving away from this tab, will automatically save the files.
CERTS/KEYS
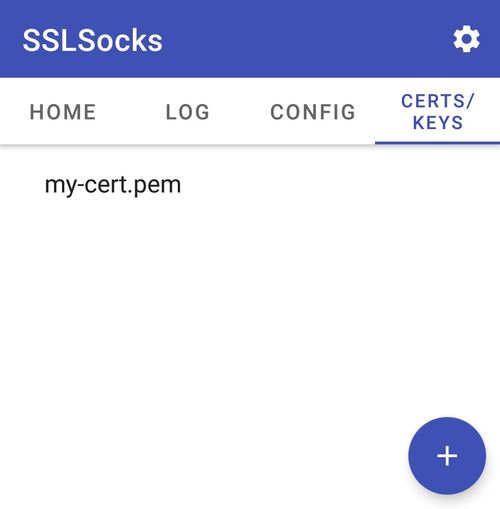
This is where you’d specify your pem/p12 files. They can either be written manually, or most likely be imported to the app. Simply click the + sign at the bottom right corner of the screen and then click on IMPORT FROM FILE to import your certificate.
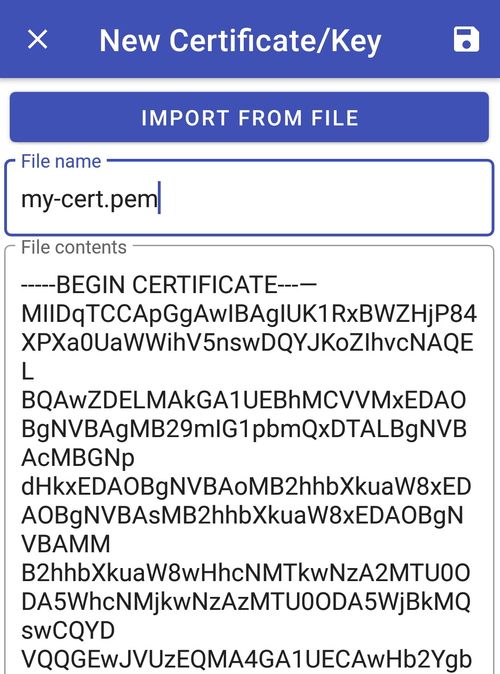
All files in this section, must either have pem or p12 extension. Unfortunately this limitation makes it impossible to be used for CRLpath/CApath.
Don’t forget to click on the little save icon at the top right corner of the screen to save your cert.
The line below shows how to specify a cert named my-cert.pem in the stunnel.conf:
cert = my-cert.pem
Settings
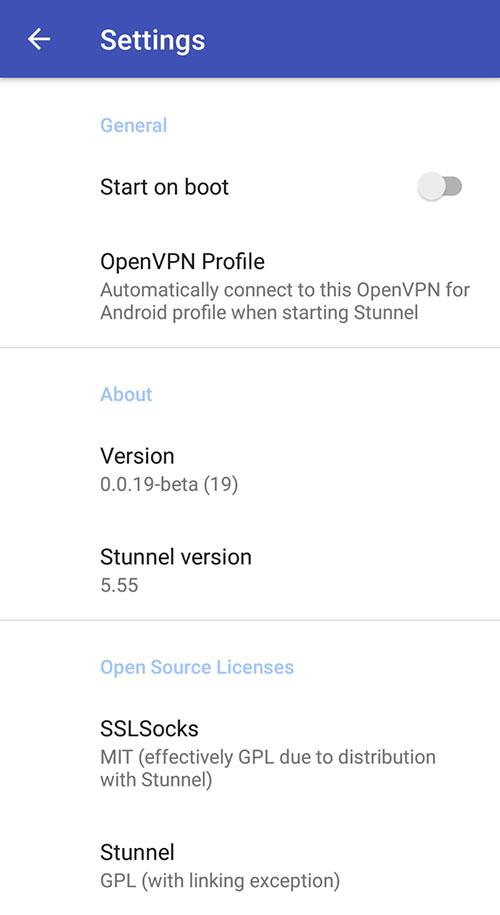
Using the top right menu, one could open the Settings window which would provide you with these options:
- Start on boot: To automatically startup stunnel on boot time.
- OpenVPN Profile: Integration with ics-openvpn to automatically start an OpenVPN Profile upon successful stunnel startup.
- About: Showing you the app version and stunnel binary version.
- Open Source Licenses: Self-explanatory.
Starting stunnel
You are now ready to start the stunnel process. As I have mentioned earlier, you may use the HOME tab to start the stunnel process.
If everything goes fine, a sticky notification will appear on your device and will stay there until it’s stopped:
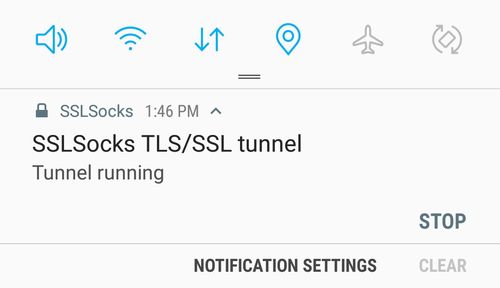
As you can see, the same notification can be used to stop the stunnel process as well.
Also, In recent Android versions (7.1+), You have the option to start the process by long pressing the app icon:
Further considerations
If you decide to run stunnel in server mode on your Android device, you might also want to consider generating static DH parameters to avoid battery draining.
And that’s about it! As always, I would love to know your thoughts. Please share them with me below.
-
According to the stunnel author, Michał Trojnara, this is rather easy to achieve. ↩︎
-
If you are interested, one of such uses (which do not require a rooted device), is documented Here. ↩︎